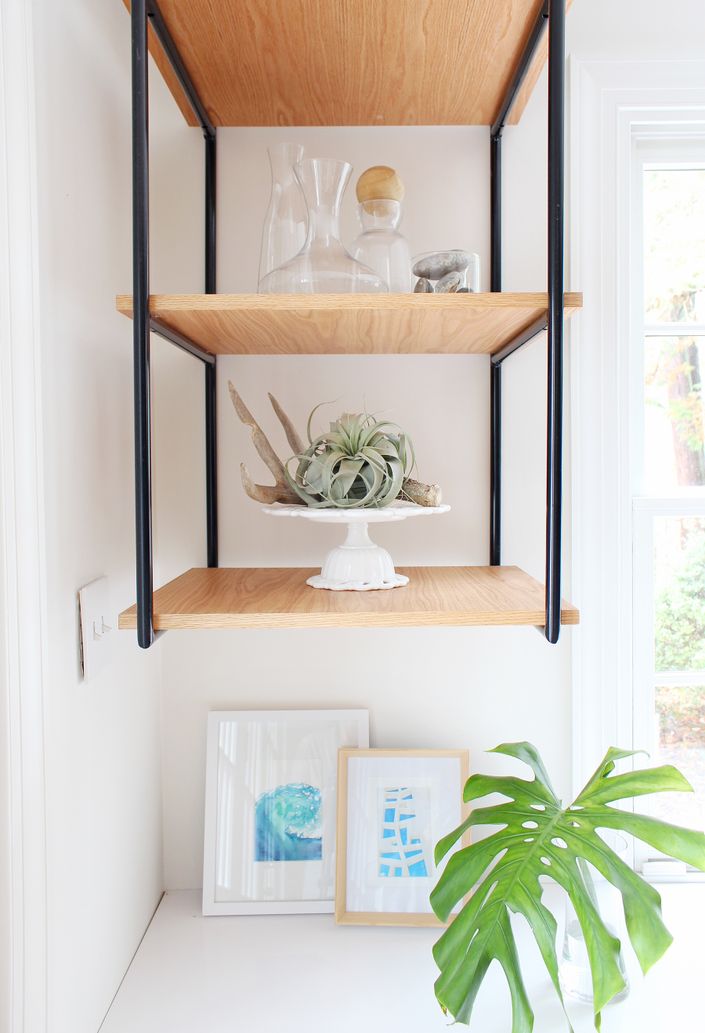
WANT TO LEARN HOW TO TAKE BEAUTIFUL, INSTAGRAM WORTHY PHOTOS OF INTERIORS? YOU'RE IN THE RIGHT PLACE.
This brand new online course from Mix & Match Education, How To Shoot Interiors, will teach you everything you need to know to get up and running! We’ll start with the basics of DSLR photography, and then move into how to set up the perfect shot, editing techniques, and a whole lot more. I’ve got the process down to a science and I can’t wait to share my step-by-step techniques to make snapping photos in manual mode and enhancing them in Photoshop simple and straightforward. It doesn’t have to be overwhelming or overly complicated!
Consider this your get-started guide - we’ll cover the technical skills and creative aspects of interior photography, and by the end, you’ll be ready to take start snapping gorgeous photos of client projects, your own home, and other photo-worthy spaces. Capture the images you want when you want, without having to hire a pro. Add them to your portfolio, share them on social media, or use them to get published! Create content that you’re proud to put out into the world.
So what are you going to learn in this course, you ask? Here’s a peek at the core curriculum!
- Module 1: Getting the right equipment. You’ll learn what you need and why. Be sure to take a look at my equipment recommendations for the course below so you can get started ASAP when you sign up.
- Module 2: Photography theory and camera anatomy. We’ll talk about shooting in manual mode including balancing the “exposure triangle” that’s made up of shutter speed, aperture, and ISO. Then we’ll move into getting to know the anatomy of a DSLR (in other words, what all those buttons and dials do!) so you can take that theory and start applying it in real life.
- Module 3: Snapping those beautiful photos. After getting to know your the buttons and settings on your camera along with the theory behind it, you’re ready to start snapping photos! I’ll show you how to set up your shots, what you need to do when you walk in the room, and how to choose your settings for different situations. I’ve also got a cheat sheet of “magic settings” that will take a lot of the guesswork out of shooting in manual as you’re learning the basics. Knowing what settings to start with will speed up your learning and get you better results faster.
- Module 4: How to edit your photos in Photoshop. Editing is the finishing touch for your photos. Your goal should be to take the best image you can with your camera and then enhance it with Photoshop. I’ll teach you my simple process including how to use the only seven editing tools you (really) need to know. You’ll also learn how to save and export those photos so you can use them on your website or publish them on social media (hello Instagram!).
The course will also include step-by-step videos, practice exercises, extra tips, a resource guide, and other bonuses!
To see exactly what you'll learn in each module, scroll down to the curriculum section.
What equipment do I need?
You’ll find a list of my recommendations below with links* to the products I’ll be using to teach the course.
- Camera: Canon Rebel DSLR (The T7i is the most recent model. I’ll be teaching using a combination of the T7i and the T5i.)
- Wide Angle Lens: Canon EFS 10-18mm IS (Optional, but a great additional lens for tight spaces or wide room shots.)
- Tripod: Dolica GX650B204 Proline GX Series 65 inch Aluminum Tripod
- Remote Shutter: Mudder Cable Shutter Release Remote Control Switch
- Memory Cards: SanDisk 32GB SD Card
- Photoshop: Adobe Photoshop CC 1-Year Subscription
- Computer: this one is up to you based on personal preference and other needs that you have, but make sure it meets the minimum requirements to run Photoshop as listed here. I use a MacBook Pro.
Photography equipment is definitely an investment, but if you’re committed to learning and developing your skills, it’s well worth it. The total cost of the equipment is around $1,000, but hiring a professional photographer for one shoot can cost that much or more. Not quite ready to invest that much? You can always buy or borrow a second-hand camera and upgrade in the future when you’re ready. Don’t let the cost of equipment stop you from getting started!
If you already have other equipment and would like to use it, that’s fine - just know that you might have to do a little more work on your end to learn how to apply the knowledge to your specific setup. If you’re not sure what you have will work, please feel free to contact me and I’d be happy to answer any questions you have.
What's the format of the course?
The content is made up of a combination of pre-recorded presentations, demonstrative videos + step-by-step tutorials, written guides + cheat sheets, and practical exercises. It’s a completely self-paced course, so you can work through the material in a way that works best for your schedule and priorities.
How much does it cost?
You’ll have the option of a one-time payment of $495 or three equal payments of $175. Once you purchase the course, you'll always have access to it as well as any updates that come out in the future unless otherwise specified.
Have other questions? Contact me here.

